Lab 3 – Configuring a VPN Policy
In this lab, we will use the Device Wizard to configure a new SSL VPN service with the necessary Network Access Resources on APM.
Note
Lab Requirements:
- BIG-IP with APM licensed and activated
- Server running AD and Web services
- Local Host file entries on the Jump Host
Task – Use the Wizard to create a new Remote Access service
The Wizard simplifies configuration tasks for specific use cases.
From the main menu on the left side of the screen, browse to the Wizards > Device Wizards and select the radio button for “Network Access Setup Wizard for Remote Access”.
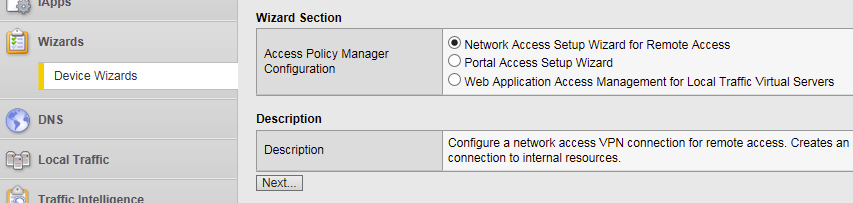
Click Next.
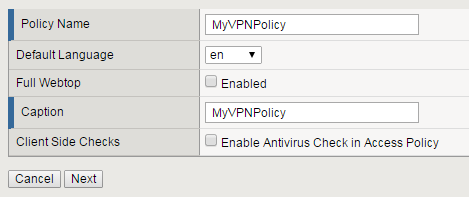
For the Policy Name field, enter MyVPNPolicy. This should auto populate the caption field. Uncheck the “Enable Antivirus Check in Access Policy” checkbox and click Next.
From the Select Authentication screen, choose the “Use Existing” radio button, select the AAA server “Lab_SSO_AD_Server::Active Directory” configured previously in Lab 2 and click Next.

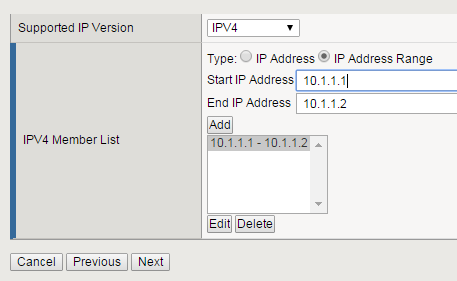
Assign an IP Address Range to be used for the VPN connection on the “Configure Lease Pool” page. Click the radio button for “IP Address range” and enter the range “10.1.1.1-10.1.1.2”, click Add and click Next.
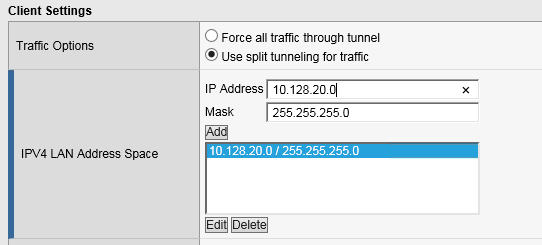
On the “Configure Network Access” page, select “Use split tunneling for traffic” and for “IPV4 Lan Space”, enter the network “10.128.20.0”, mask “255.255.255.0”, click Add, leave everything else default and click Next.
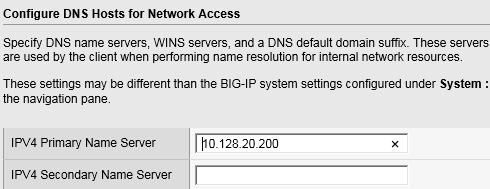
Accept the default on the “Configure DNS Hosts for Network Access” page and click Next.
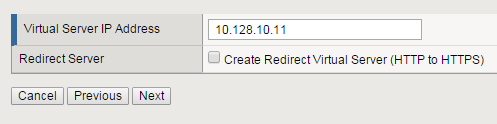
On the “Virtual Server (HTTPS connection)” page, enter “10.128.10.11” for the IP address of the Virtual Server that users will connect to for access to the VPN. Uncheck the “Create Redirect Virtual Server” option and click Next.
Verify your settings on the Review page and click Next when satisfied.
The Setup Summary page will display a list of the configuration objects that the Wizard created for you. Click Finished.
Task – Testing
- Open a web browser to the virtual server created in the above step by navigating to https://myvpn.f5demo.com. You will be presented with a Logon page similar to the one from the last lab. |
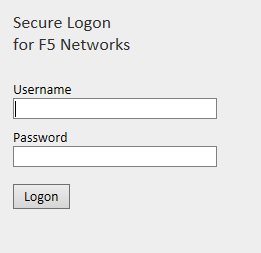
Enter the following credentials:
Username: user
Password: Agility1
This will initialize, authenticate and establish a new VPN connection to the Network Resource that was configured. You will be presented with a new page that shows the connection details.

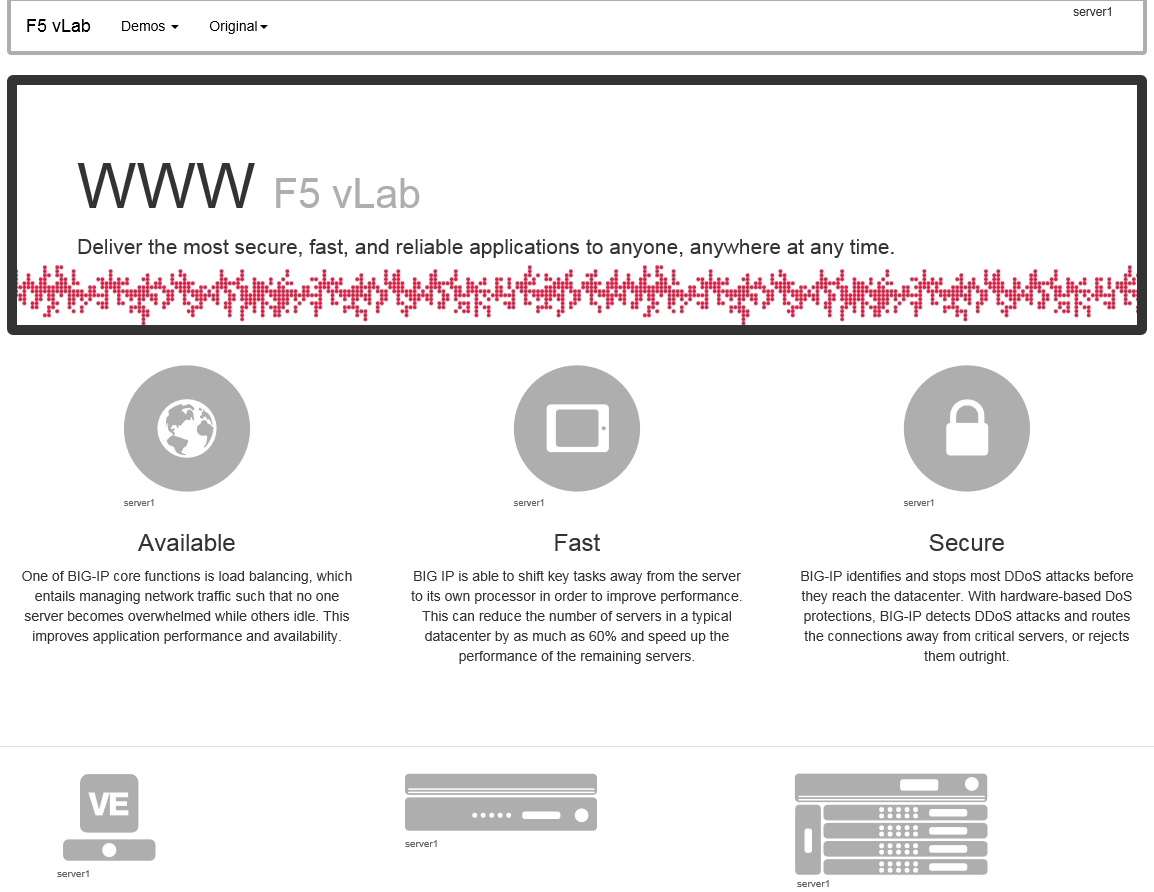
Open a new browser tab and confirm that you are now connected to the internal network by browsing directly to the HTTP server used in the pool for the previous labs: http://server1.f5demo.com. You should see a page similar to the following:
Close the page then click Logout on the F5 VPN page to terminate your VPN connection and close the browser window.